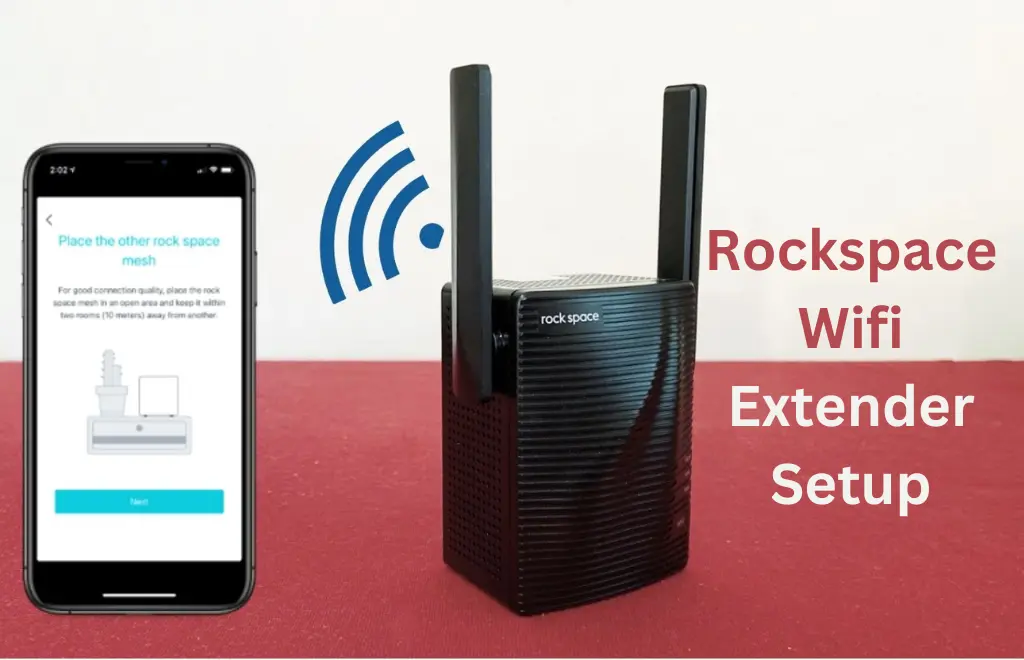
Rockspace Wifi Extender Setup – Guide and Tutorial 2024
In this digital age, although everyone can access the internet in the entire world, likewise some people need help with issues like low wifi signals. Then, they try to enhance their wifi signals by using various ways like buying new routers, extenders, and others.
But if you’ve purchased a Rockspace Wifi Extender, you did well, because it’s a good option, so you must stay with us to read a guide on Rockspace Wifi Extender Setup 2024 to enhance your wifi signals.
Here are some basic requirements that you must follow before moving towards Rock Space wifi extender manual setup:
- Make sure you’ve got your Rockspace extender and your router handy.
- Find the ID and password for logging into the extender’s dashboard. You can locate this information underneath the extender or on the box. If you’ve changed the password before, just use the one you set.
- Use your computer or mobile device with a browser to proceed.
If you are interested in trading, click here to learn about the best trading app, Fintech Zoom.
How to Setup Rockspace Wifi Extender Setup? Handy Guide
Follow these Rockspace Wifi Extender Setup instructions to improve your wifi signals:
Utilizing WPS Method
- Start by powering up the extender. Plug it into the socket, switch it on, and give it a moment until the LED light turns a friendly shade of blue. Make sure your WiFi router and the extender are keeping each other company in the same room during this setup phase.
- Once that trusty LED light on the extender is shining blue, give your router a little attention by pressing its WPS button. Now, patiently wait for the repeater signal LED light to join the blue party. Remember, hit the WPS button on the extender within 2 minutes of pressing the same button on the router. Easy, right?
Using Ethernet Cable
- Grab an Ethernet cable and hook up your wifi extender to your computer.
- Open your web browser and type in either http://192.168.0.254 or re.rockspace.local to access the Rockspace extender login page.
- A login page will pop up; use the credentials found on your Rock Space wifi extender’s box. Once logged in, you’ll land on the extender setup page.
- Click on the extender option to kickstart the setup process.
- Follow the on-screen instructions for a smooth wifi extender setup. They’ll guide you through the whole process.
- Click ‘save’ to apply the changes.
- After setup, relocate your extender. Unplug the Rockspace range extender and move it to a spot midway between your wifi router and the areas with poor network coverage.
- Plug in the extender and connect your device to it. Confirm if the internet is accessible in those previously dead network spots from the extender.
Where to Place Your Rockspace Extender?
After Rockspace Wifi Extender Setup, the one special thing is placing the wifi extender in a suitable location, so follow these points for better signals:
- Connect the extender approximately midway between your router and the Wi-Fi dead spot. Make sure the chosen spot falls within the range of your router.
- Allow a brief waiting period of around 2 minutes until the Signal LED transitions to a calming blue hue. If it doesn’t, consider moving the extender a bit closer to the router for an improved signal experience.
How to Login to Rockspace Wifi Extender?
Some people also find difficulty after Rockspace Wifi Extender Setup, so if you’re also one of them, follow these given steps:
- Begin by linking your extender to your computer or mobile device. Connect the extender to your computer or mobile device through Wi-Fi. Activate the Wi-Fi on your computer or mobile device, and locate the Wi-Fi network labeled “rockspace_ext”. Proceed to connect to the extender’s Wi-Fi network.
- Once your device is successfully linked to the Wi-Fi network, launch your web browser. In the address bar, type either http://192.168.0.254 or http://re.rockspace.local. This action will lead you to a login page.
- Provide the necessary login details in the login form after reaching the login page. Once you have successfully entered the ID and password, proceed to the next step.
- You are now logged into the Rockspace Range Extender dashboard. From this point, easily adjust the settings of the extender you are currently using.
- Customize the settings effortlessly, and modify the network’s password, name, and security settings as needed.
How to Fix Rock Space Wifi Extender Setup Issues?
One common issue is the firmware issue that most people face, so you can resolve this issue easily.
To do that, you must update your firmware from time to time, here are the steps:
- You must follow the above methods on the Wifi 4 extender setup to connect your router and Rockspace Wifi Extender.
- Then, place it in a suitable place as we’ve discussed before.
- Lastly, you must switch on your extender if you face issues still.
FAQs
Conclusion
To set up your Rockspace Wifi Extender, you can use the WPS method and Ethernet Cable method, so you can use any method according to your ease. Finally, in the guide on the Rockspace Wifi Extender Setup, we covered all the aspects regarding Rockspace Wifi Extender, and if you’ve any queries, don’t hesitate to ask us with the help of the given comment section.


One Comment